
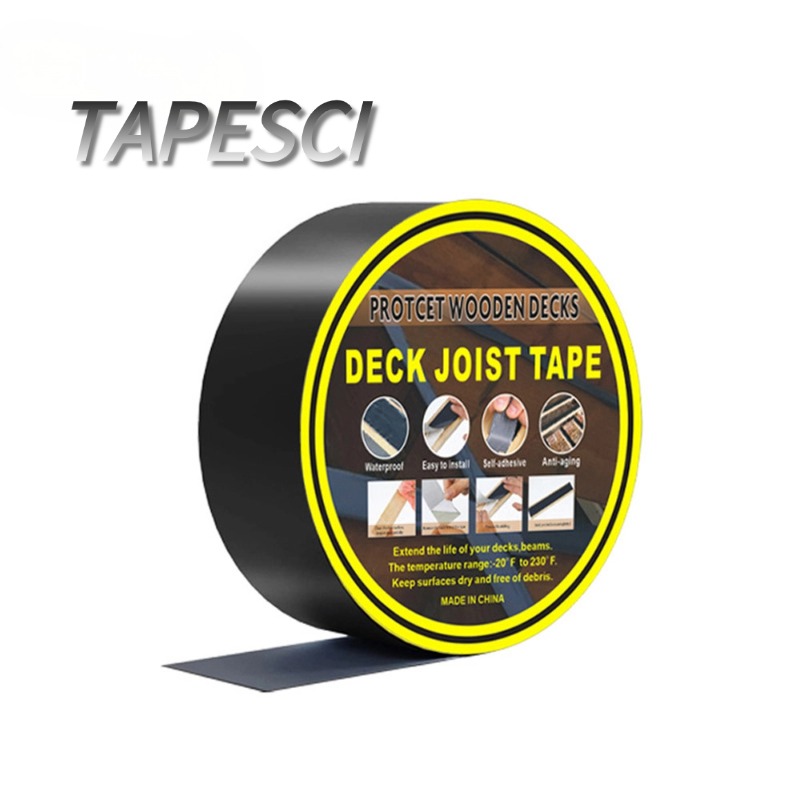
@Deck joist tape is a specialized self-adhesive tape used in the construction of decks and outdoor structures.
– Thickness (mm): 0.7 | Custom
– Width (mm): From 1mm to 1000mm | Custom
– Length (m): 5 | 10 | Custom
– Core Diameter(mm): 25 | 32 | 38 | 76 | Custom
– Packing Term: Label | OPP Bag | PVC Box | Carton | Custom
Deck Joist Tape is a specialized protective tape designed to be applied to the tops of wooden deck joists before the installation of decking boards. Made from high-quality materials like butyl rubber or polyethylene, this tape creates a moisture barrier that helps extend the lifespan of your deck by protecting the joists from water damage, rot, and decay.
1. Prepare the Joists:
Ensure Clean and Dry Surface: Before applying the tape, make sure the deck joists are clean, dry, and free from dirt, debris, or moisture. A clean surface helps the tape adhere better and creates a stronger moisture barrier.
Check for Damage: Inspect the joists for any signs of rot or damage. Deck joist tape is most effective when applied to healthy, dry wood. If any joists are damaged, replace them before applying the tape.
2. Measure and Cut the Tape:
Measure the Length of the Joists: Measure the length of each joist where the tape will be applied. Typically, deck joist tape is applied to the top side of the joist (where the decking boards will sit), but some people also apply it to the sides for extra protection.
Cut the Tape to Size: Once you have your measurements, cut the tape into manageable sections. Make sure you leave a little extra on each end to ensure complete coverage.
3. Apply the Tape:
Start at One End of the Joist: Position the tape at one end of the joist and begin unrolling it slowly along the length of the joist.
Press Down Firmly: As you apply the tape, use your hands or a roller to press it down firmly onto the wood. Make sure the tape adheres well to the surface, with no bubbles or wrinkles.
Overlap Edges: If you need to apply multiple strips of tape, make sure they slightly overlap (usually around 1/4 inch or more) to ensure a continuous barrier without any gaps where moisture could seep in.
Smooth Out the Tape: Work your way along the joist, smoothing out the tape as you go. This will help ensure full adhesion and a smooth, water-tight seal.
Storage:
Precaution Reminder:
Competitive advantages of our factory: